Tuesday, December 2, 2014

NATURE'S ART WITHIN WALKING DISTANCE! Part 1-Fall

Many  photographers think they must drive to far off locations or to some iconic state or national park to create great images. Sometimes they overlook what's in their own backyard; just over the fence, or a block away.  I like to take walks around my neighborhood in early fall to take note of which trees are starting to turn color first.
 f5.6 @ 1/200 sec., ISO 400
This tree is just six feet on the other side of our backyard fence (in the common area). Most of it's leaves were still green, so they made a nice background for this one branch of yellow leaves. 

In early fall I look for these color contrasts and zoom in on unusual details…
f5.6 @ 1/320 sec., ISO 400
This tree is near the other--this is also the view looking over my fence. I like the bi-color leaves again with mostly green leaves behind them. Don't forget to get under these early fall trees, when the sun is high, and LOOK-UP.  I look for back-lit fall colors…
f6.3 @ 1/320 sec., ISO 800
The back light really makes these leaves POP against the other green leaves.  These trees are a block from our home in our development's common area.  Two trees over another tree has progressed far more…
 f8.0 @ 1/320 sec., ISO 400


This tree was going Red much faster than it's neighbors.  I liked the layers of leaves--this time with some front light.

Looking up at another tree…


f6.3@ 1/2000 sec., ISO 400


I see these odd leaves back-lit against the sky and I zoom-in for a close-up.

Late fall is another great time, just before the snow starts to capture the symbolic end of fall.


f8.0 @ 1/250 sec., ISO 400
This is when you LOOK DOWN for interesting leaves on the ground.  This image was taken in the same common area, as the sun was setting, just 16 days later.

Next week in Part 2 I'll revisit my neighborhood highlighting the transition of fall into winter, followed by our first heavy snow and my favorite: freezing fog.

As usual, should you have comments or questions please don't hesitate…

Author:  Jerry W Venz, Master Photographer Certified
Training site:  http://LightAtTheEdge.com

Tuesday, November 25, 2014

REAL NATURAL LIGHT PORTRAITS

I NEVER add light to my outside portraits unless it's past sunset. There's always plenty of light (usually too much light) one or two hours before sunset.  So, my goal is to find natural features, on my locations, to subtract light from one side to create a three dimensional quality to the portrait. Sometimes I use my Gobos--42" Black "flags" to block light when there's no natural alternative.  With the subtractive lighting technique you can create beautiful true natural light portraits; never needing so much as a reflector and most certainly NEVER polluting the scene with flash!

I tell my students, "If you think you need a reflector or flash then you have placed your subjects in the wrong spot!" 

The following set of images, from one of our recent fall family sessions, illustrates the subtractive lighting technique, my use of background light, and my use of relatively wide apertures with the longest focal length I can use given the constraint of the location.
f5.6 @ 1/160 sec. ISO 400, lens at 175mm


That big rock is perfectly placed for this time of the year!  The sun is setting behind it, giving me great back light.  There's a big patch of sky on the right--my key light. But, what makes this spot great is the row of trees on the left blocking the sky light on that side. Without those trees, subtracting that sky light, the lighting here would be flat, directionless and boring, creating, flat, two-dimensional people.


Both Images at f4.5 @ 1/200 sec., ISO 400, Lens at 200mm     
Then we moved to another favorite spot where I could seat my subjects.  This spot, again, has great back light, a patch of sky on the right, and the trees on the left blocking some skylight.  Their shadow side is more subtle here because there is also skylight coming from behind camera position.  For individuals I usually use a wider aperture and zoom to 200mm to create a nice soft background.

Both Images at f4.5 @ 1/200 sec. ISO 400, Lens at 200mm
Changing my camera position, in the same location, I made the backgrounds different for each of the kids.


Then we finish-up with a portrait of mom and dad. Backing off as much as I could (there's a large pond behind me) with  my lens at 168mm you can see why I like this spot. That big rock and old tree on the ground could not have been placed better for portraits!  The we moved to another favorite spot where I could seat my subjects.  This spot, again, has great back light, a patch of sky on the right, and the trees on the left blocking some skylight.  Their shadow side is more subtle here because there is also skylight coming from behind camera position.  For individuals I usually use a wider aperture and zoom to 200mm to create a nice soft background.
As usual, should you have questions please don't hesitate to drop me a note or make a comment.

Author:  Jerry W Venz, Master Photographer Certified
Training site:  http://www.LightAtTheEdge.com


Tuesday, November 18, 2014

BEING CREATIVE BY NARROWING YOUR VISION! Part 2 of 2

The amateur, and especially the tourist doing travel photography, will often take the wide view showing the whole subject and move on.  While that's fine, as an establishing image of where you were, it should only be the a starting point of discovery about your subject. To travel thousands of miles, spending lots of money to get there, and only do that snap-shot, that every other tourist does, is sad.
Lens @ 19mm
Here we are on the Isle of Capri, Italy; home of this beautiful old church (Santa Sofia, 1510). This is the view that all the tourists were taking--and it's OK. We had a great sky and I got as much of the church as I could with my lens at 19mm--the very narrow streets prevented me from backing up any more!

Lens @ 66mm


Moving to the left side of the church I see that the front is a facade build-on to the ancient part of the church!  So, zooming in and changing to a vertical position I could frame the old with the new parts of the church.  This tells the story of the church in Layers.  Oh, and the clock was still working!


Lens @ 35mm
A difficult image to get--the whole ship and from a nice elevated angle.  In a very rare situation I photographed this Princess cruise ship that we had sailed on in the past--from the current Princess ship we were on.  It just showed up in port and parked behind us!

While it's probably the best photo I've taken of a whole cruise ship I would not put in on my wall--it's a "Record Shot."

To create something more artistic you need to use a part of the ship (foreground) against some interesting environment (background) and make them a nice composition.


You don't even have to show much of the ship.  Here I implied it in silhouette, exposing for the sky, with people looking to the sunrise. This would go great on the wall--Large.

I'll say this again…don't be that safe, distant, observer!  Go beyond the "record shot" and show a different point of view.

Don't hesitate to ask questions or make a comment. 'Til next week…

Author: Jerry W. Venz, Master Photographer, Certified
Training site:  http://www.LightAtTheEdge.com


Tuesday, November 11, 2014

BEING CREATIVE BY NARROWING YOUR VISION! Part 1 of 2

Narrowing your vision is simply looking for the details by going in close.  But, it's not just the mechanical act of zooming-in with your lens--it's a way of seeing.

Become more than a distant observer; you must journey into the scene like a detective looking for clues. You may get dirty. You may get scratched-up in the under-brush or get wet, but the results are worth it.

Speaking artistically, when I see an image showing a wide overall view of something, especially a well known landmark, I usually loose interest after 3 or 4 seconds.  But, details not seen before are worth close scrutiny and often hold-up longer on the wall as art. 

You can learn so much more about something when you zoom-in close that I tell my students, "Narrow your vision; when you show less you can reveal more!"
 f5.6 1/1250 sec., ISO 400, Lens @135mm


 So, what's more interesting--the forest or the leaf? This forest view is what I see most amateur photographers do as distant observers--safe.  It's the image you get when you pull over at the "Scenic View" turnout.


Lens @ 24mm


If you're going to photograph a tree you need to, again, show a different point of view. I decided to show this tree from the point of view of a leaf!  I am standing on a six-foot ladder (I'm 6'2" ). I got this great overhead view and using my lens at 24mm. It felt like I was really up in the tree.


One of my favorite things to photograph here in Idaho: Freezing Fog! This stuff is amazing! I saw my neighbor's bush across the street with the morning sun behind it and took this image. Nice icy tendrils--a nice record shot..but, upon closer examination….

 f5.0 @ 1/2000 sec. ISO 125 @ 70mm (macro-mode)


All the remaining leaves on the bush were beautifully edged in ice crystals! I switch to MACRO mode to capture one of these tiny leaves (about 1 inch long) up close. Since there was a lot of light and I wanted a shallow depth-of-field I dropped the ISO low, opened up to f5.0 giving me a high shutter speed, which helped because it was windy and I was hand holding.  This image is in my fine-art portfolio and, of course, the bush is not! 

So, don't be that safe, distant, observer! Get in there, get on your knees, get dirty and show the world a different point of view.


Next week I will explain how you can translate this information to your travel photography. As usual, don't hesitate to drop me a line if you have questions or comments. 

Author:  Jerry W Venz, Master Photographer, Certified
Training site:  http://www.LightAtTheEdge.com

Tuesday, November 4, 2014

CREATIVE HIGH I.S.O. IN THE STUDIO

I keep hearing "experts" on the forums telling other photographers to ALWAYS use their camera's "native" lowest I.S.O.--usually somewhere around ISO 100.  Bad advice! If you have a late model DSLR with an APS-C size sensor or ANY full-frame sensor you will be giving up HUGE creative potential if you slavishly follow that advice.  I very rarely go down below 400 ISO when I'm outside and my starting ISO in the studio is 200. Why you ask, am I up at 200 ISO in MY studio?  simple, now that I'm not tied to any particular film's ISO I'm FREE to use ISO as a tool to get me to the f-stop/shutter speed combination I need for a given subject or creative idea.

So, here's my rule for picking ISO in the studio: THE F-STOP YOU REQUIRE FROM YOUR WEAKEST LIGHT DETERMINES YOUR ISO IN THE STUDIO--PERIOD.

In my studio the ceiling mounted "hair-light", which shares my Norman pack, with two other heads that are lighting my background, is my weakest light.  To get f11.0 from that light at full power requires ISO 200. It's that simple; my starting studio ISO is 200.

As an example of creative use of ISO in the studio I decided to do something different with an image of one of my older cameras I had up for sale. I placed the camera in front of one of the art prints that had been done with that camera. I loved the wild red sunset as the camera's background.

f22.0 @ 1/5th second ISO 800 - Lens at 82mm
 I used standard product lighting; a strip soft box (Larson 9"x24") overhead skimming the top of the camera (aimed towards me) and a kicker light (with a grid) on the right. In addition I had a reflector in front of me to bounce light back into the front of the camera--standard set-up; Boring… Hey, I though, what would it take to make it look like that red from the background was being projected through the camera's viewfinder and out the lens?  The "quick and easy" answer was my red LED,flash light of course!  The first thing to go was the front reflector, since it put too much light on the front of the camera and the lens.  My flash light has one red LED surrounded by 5 white LED's.  I knew I'd have to "drag my shutter" (go to a long shutter-speed) for this wimpy light to show-up on this mixed studio lighting scenario.  So, finally with my flash light, as close as I could get it, shining onto the front of the camera's lens--the red in the lens got really good when I upped my ISO to 800 with my shutter speed at 1/5th of a second.  With my ISO upped to 800 I had to stop my lens down to f22.0 because the overhead studio flash was already at it lowest power setting.

The basic rule here is that the shutter speed exposes for the continuous light (the flashlight) and the f-stop exposes for the flash; simple.  Anyway, I did sell the camera!  And I ended up with this nice image to illustrate high ISO and mixed lighting in the studio.

As always, should you have questions please don't hesitate to drop me a note.

Author:  Jerry W. Venz, Master Photographer, Certified
Training site web address:  http://www.LightAtTheEdge.com

Tuesday, October 28, 2014

DO YOU COMMIT LIGHTING MALPRACTICE IN THE STUDIO?

I can understand it, when outside, sometimes you've only got flat light on your subject and you've never heard of subtractive lighting because nobody else is teaching this!  See my blog: WHAT IS SUBTRACTIVE LIGHTING USING A GOBO?  So, you work with what nature gives you at that moment in time; I get that.  But, there's no such excuse when you're in the studio. In the studio you are GOD (so to speak)! The studio is a universe of Your creation; YOU say let there be light and WHERE the light IS or IS NOT. YOU say how much and its DIRECTION! Lighting with ONE MAIN LIGHT creates direction and that creates SHADOWS.

Leonardo da Vinci wrote:
"The artist who avoids the shadows may be said to avoid the glory of the art." 


This image shows THREE DIMENSIONAL studio lighting. In this image I have my main light at 90º--to her side on camera left--with no fill light of any kind, not even a reflector. 

The lighting pattern I see the most on forums and on professional photographers' website is the Equi-Angle/Equi-Distance two light setup--that is the two lights each at a 45º angle--and many times they won't even have a background or hair light!

The fundamental problem isn't that this lighting set-up exists--it's great on TWO DIMENSIONAL Things like a stamp collection or drawings and paintings.  It's a COPY SET-UP! It's not for People or anything three dimensional!


This is what I'm calling lighting malpractice.  It's basically a Two-Main-Light set-up.  (Two lights of equal distance and angle.) I couldn't omit the very necessary background and hair lights--but this is basically a flat-art lighting set-up. This is not as flat as I am seeing out there, but you get the point (I had a really hard time doing this wrong.) Notice the double pops in the eyes as well.


Moving my Main Light back over to the Left and omitting the other main light or any fill light at all--there's only a soft white reflector on the right--we now have three-dimensional lighting again.

In order to command a premium price for your portraiture it must look different that the chain store "picture places" in the mall.  If you are lighting people no differently than the passport pictures offered by the Post Office for $20 why should your clients pay YOU more? So, let's not photograph our clients like they're a stamp collection. Give them depth and create dimension by sculpting with your lights not flooding your subjects with light.

As usual should you have questions please don't hesitate to ask…

Author; Jerry W. Venz, Certified, Master Photographer
Training site:  http://www.LightAtTheEdge.com

Tuesday, October 21, 2014

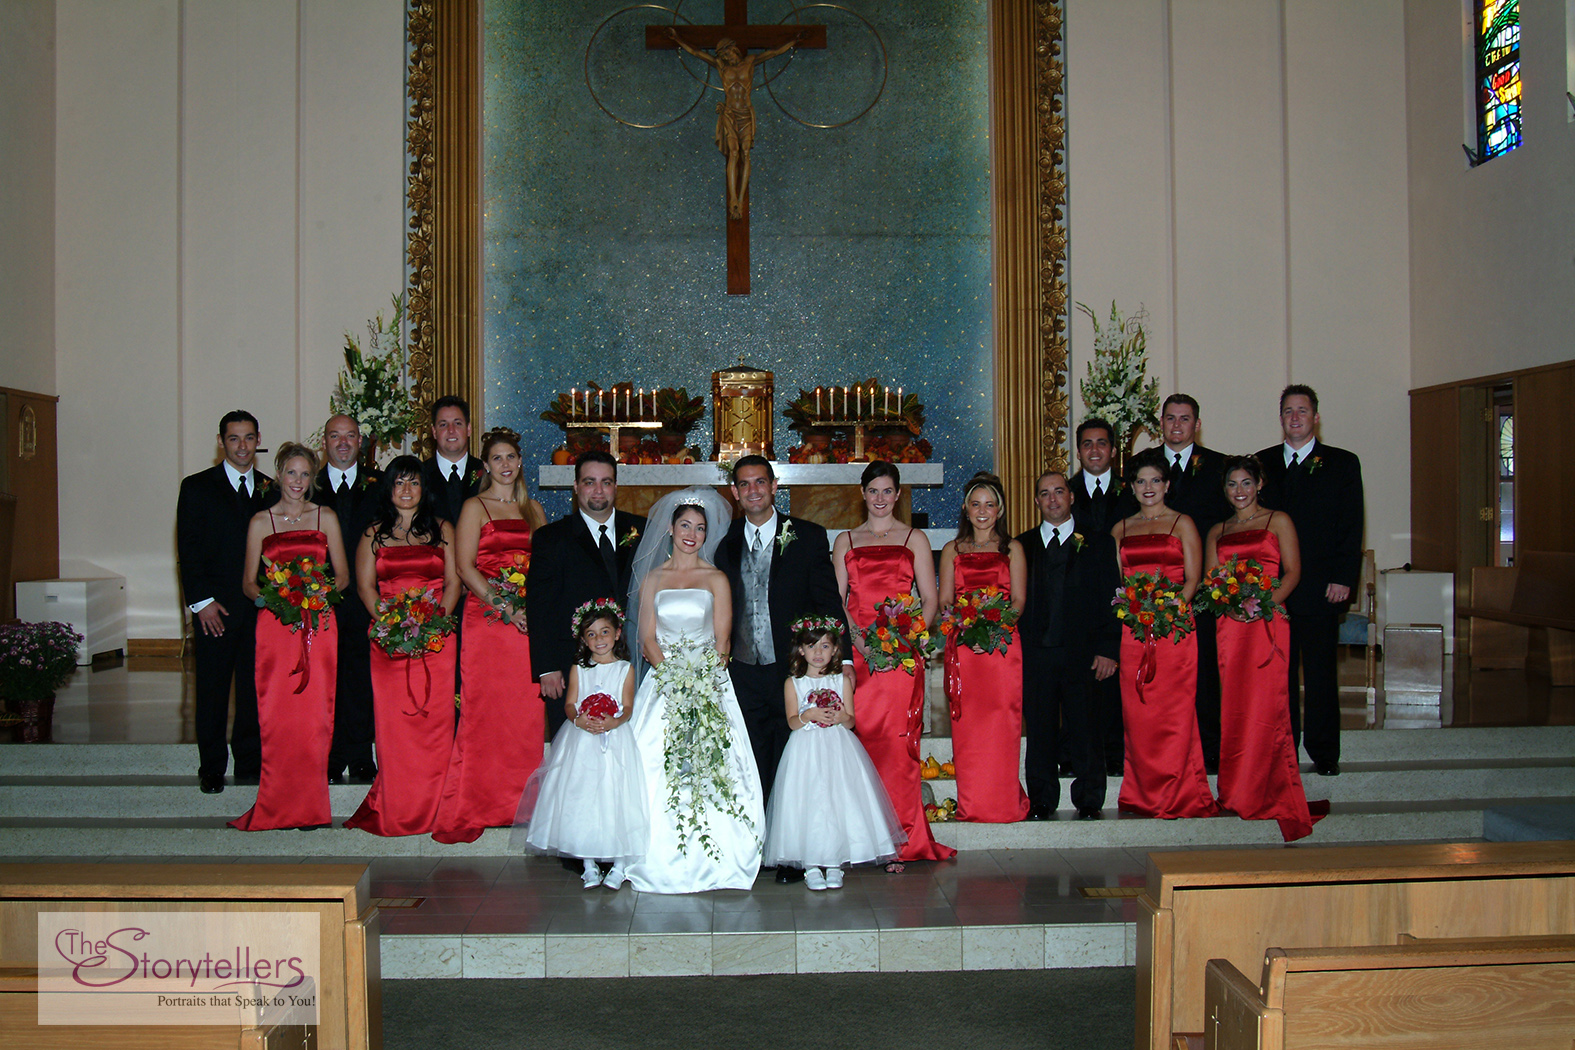
WEDDING TIPS THAT PAY OFF IN MORE WAYS THAN ONE!

With our 25+ years in the business and hundreds of weddings these are some of our most valuable tips:


#1)  Engagement sessions can be a huge marketing tool for you. Insist on doing an engagement session for your couples and explain why…Do it long before the wedding and do it as your gift to them--Just the session--no prints or files included. It does not matter if they've already had someone take pictures already. YOU haven't done it. Tell them this is how you learn about the best way to photograph them, to learn what they do and don't like, and it's your chance to tutor them on the best poses for them.  We use the engagement session as our opportunity to teach them how to stand, how to sit, and what to do with their hands when being photographed. It's all about making them feel relaxed in front of Your camera.  All of these tips prepare them for their wedding day photography and they will remember their engagement experience.  We've also found that they're far more likely to buy a wall print from a stunning engagement session than anything from the wedding day.


#2)  Tell your couples that you will attend their rehearsal--not to take pictures--but to meet their family, wedding party and most importantly to meet the church's coordinator and their minister or priest.  You need to find out about the rules of the church for photography--where You are permitted to set-up your tripod and if you can move or use multiple locations.  In addition I always ask the coordinator if they would bring the lights UP to wedding day levels so that I can pre-measure the ambient light and pre-plan how I'm going to do the return to altar photography.  I must know in advance if I have to bring additional lighting if the church's lighting is inadequate--especially if they have a large wedding party or large family groups. Besides the technical necessity attending the rehearsal always impresses everybody there because most photographers don't do this! It shows that YOU CARE about their wedding and respect the sanctity of the church when you attend the rehearsal.  In addition when I showed up at rehearsals it was more likely that they would bend their rules to accommodate my photographic requests.


#3)  This is really an important one!  If you have a bride with a bunch of bride's maids, where her hair-dresser/make-up artist is doing everyone's hair and make-up, have the bride INSIST that she be done FIRST!  It does you no good having her brides maids done before the bride--the bride is in all the images!  With the bride done first you can start with the most important images of the day--the bride's formal portraits. Then as her girls are ready you bring them in, pair them up, and do the groups, bring in parents, siblings, etc.

This hair-dresser/make-up issue regarding the order of who gets done first has been the leading reason our photography went behind schedule and the necessity to eliminate more artistic images being done of the bride.  We had a wedding when the hair/make-up person said the bride is supposed to be late…she was soooo late that NO photography was done of the bride prior to the ceremony…they were doing a sunset wedding at a stunning outside location in Carmel Valley, California…she missed the sunset by an hour…no one saw her carriage and white horses bring her to the ceremony and everything was done in the dark…


Should you have questions don't hesitate to ask…

Author: Jerry W. Venz, Certified, Master Photographer
Training site:  http://www.LightAtTheEdge.com